Kobo Clara HD setup
Activating the Kobo Clara HD with extra features
[ Updated 06-30-22 | Created 06-14-22 ]
Table of Contents
SD swap
The SD card is accessible by partially disassembling the device. Remove the back cover of the Kobo Clara HD with a pry tool as shown below.
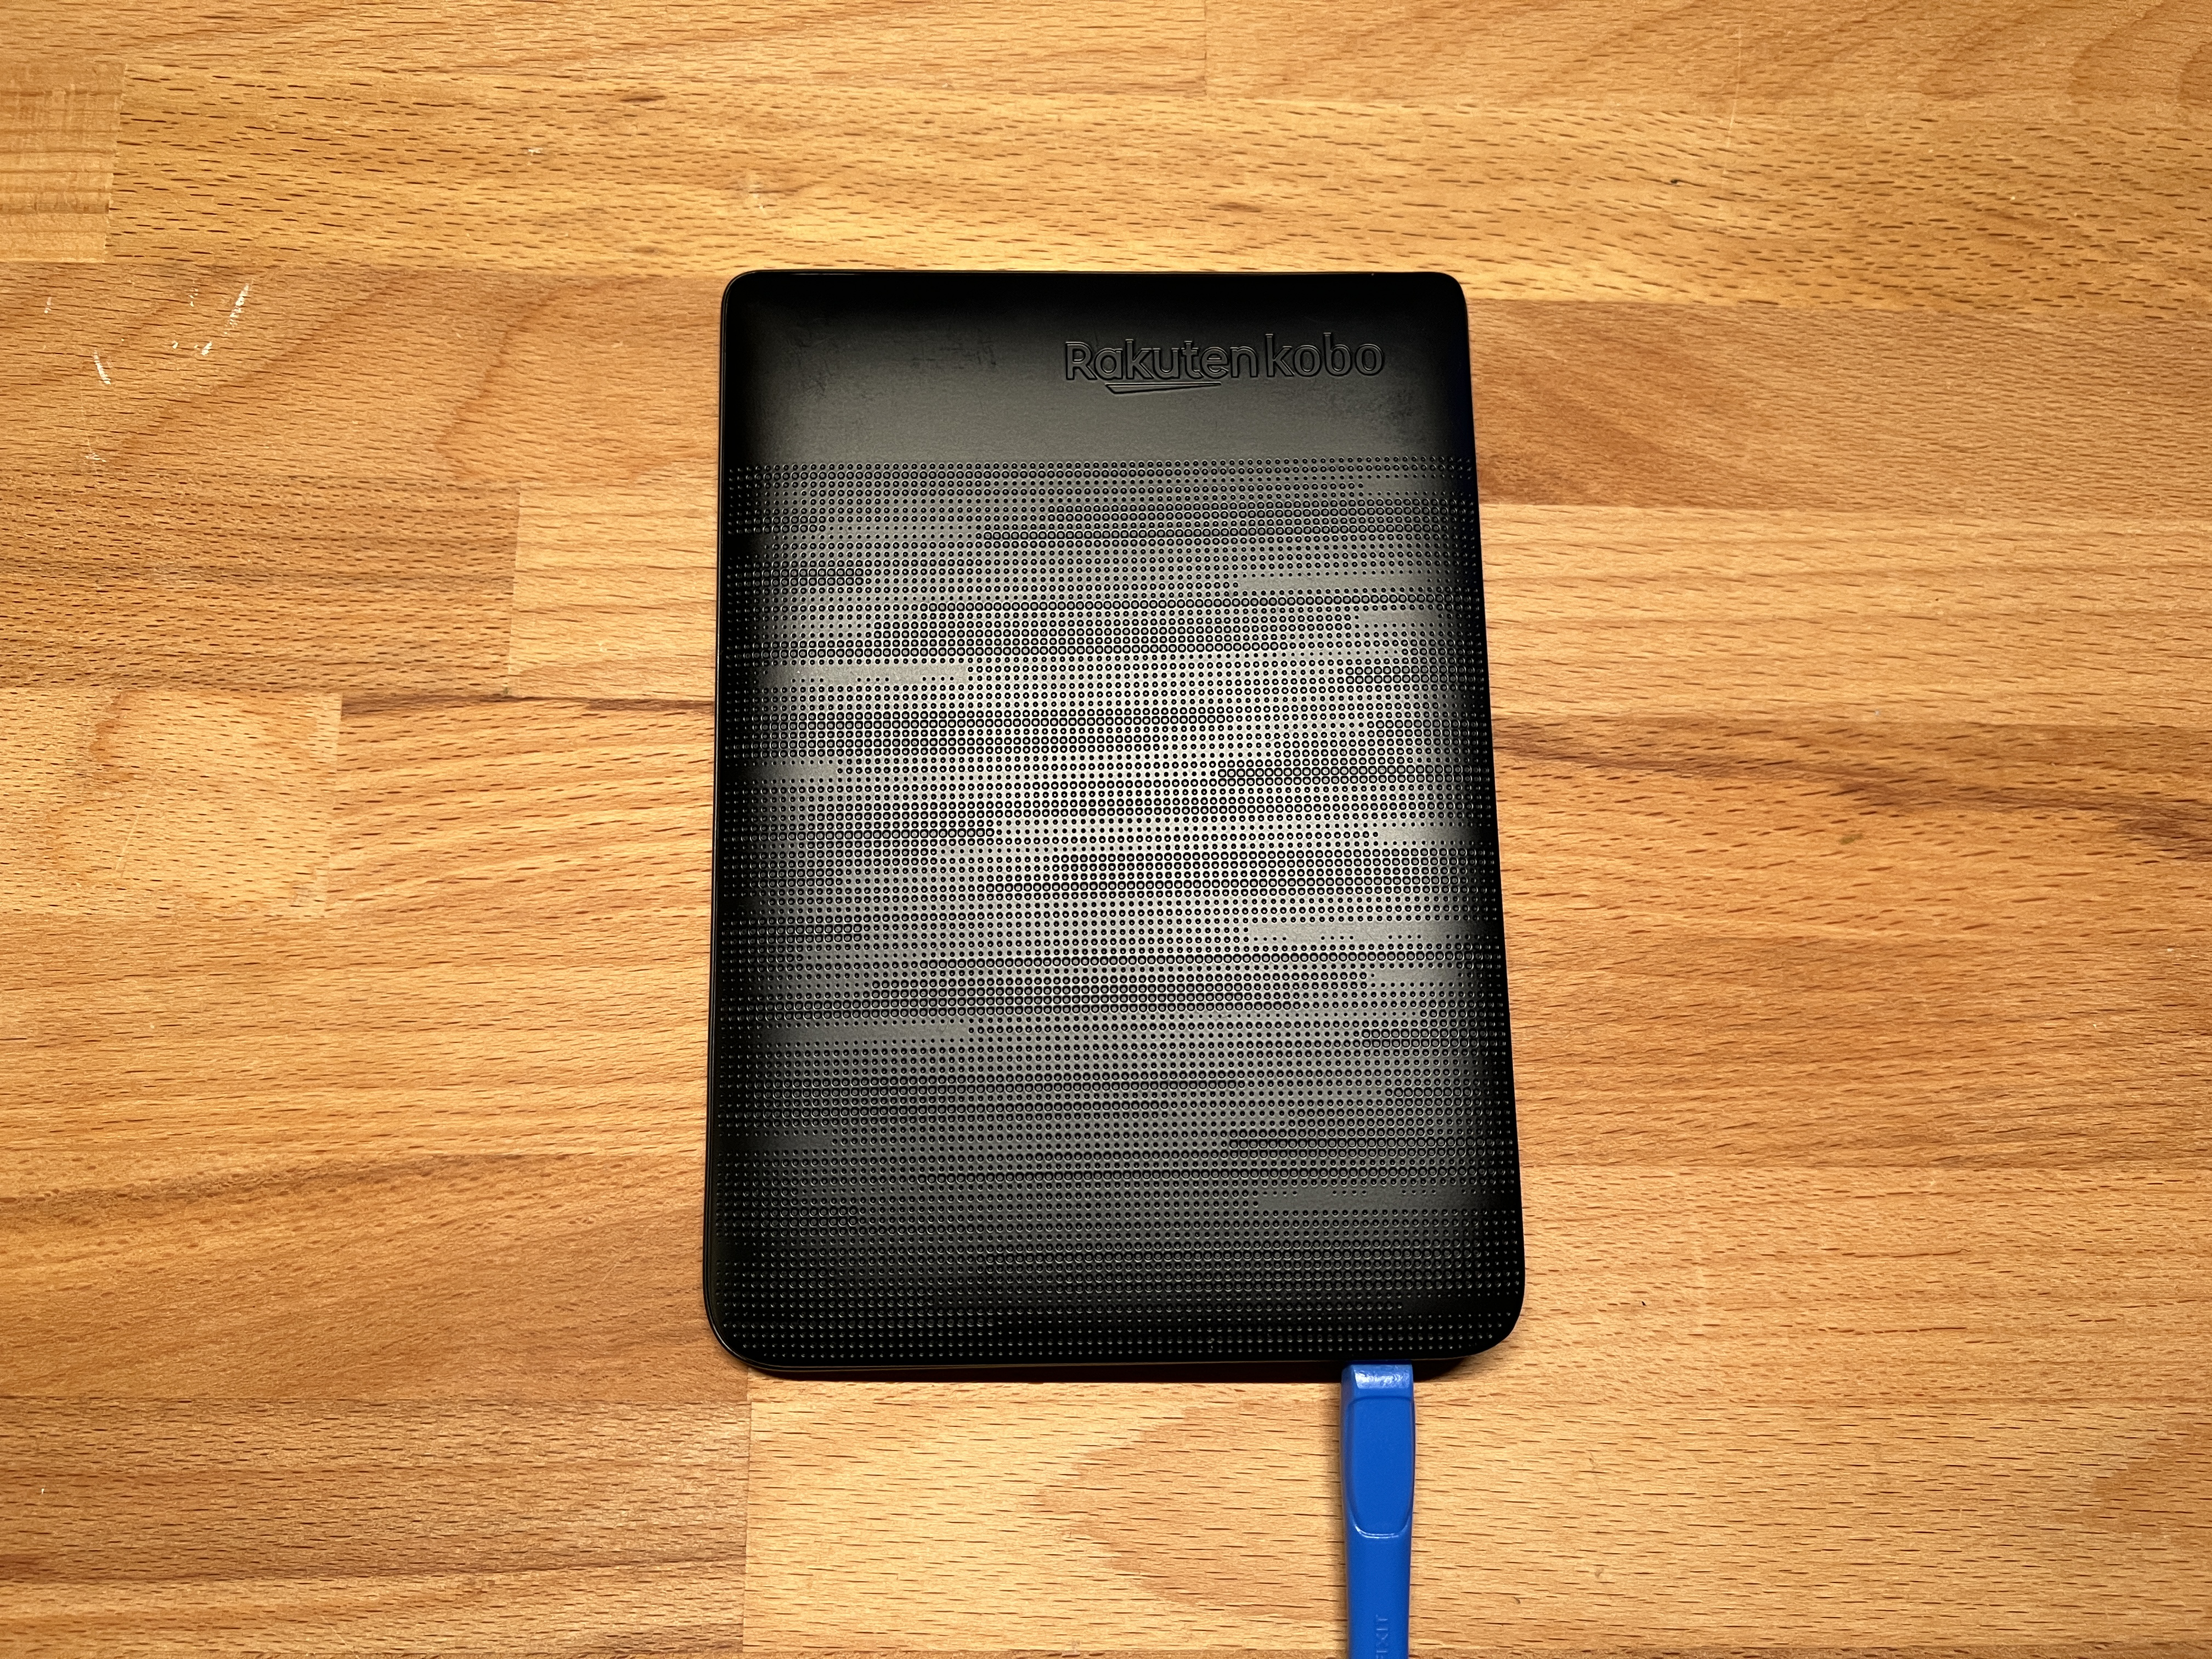
The pry tab is located near the “Kobo Clara HD” text
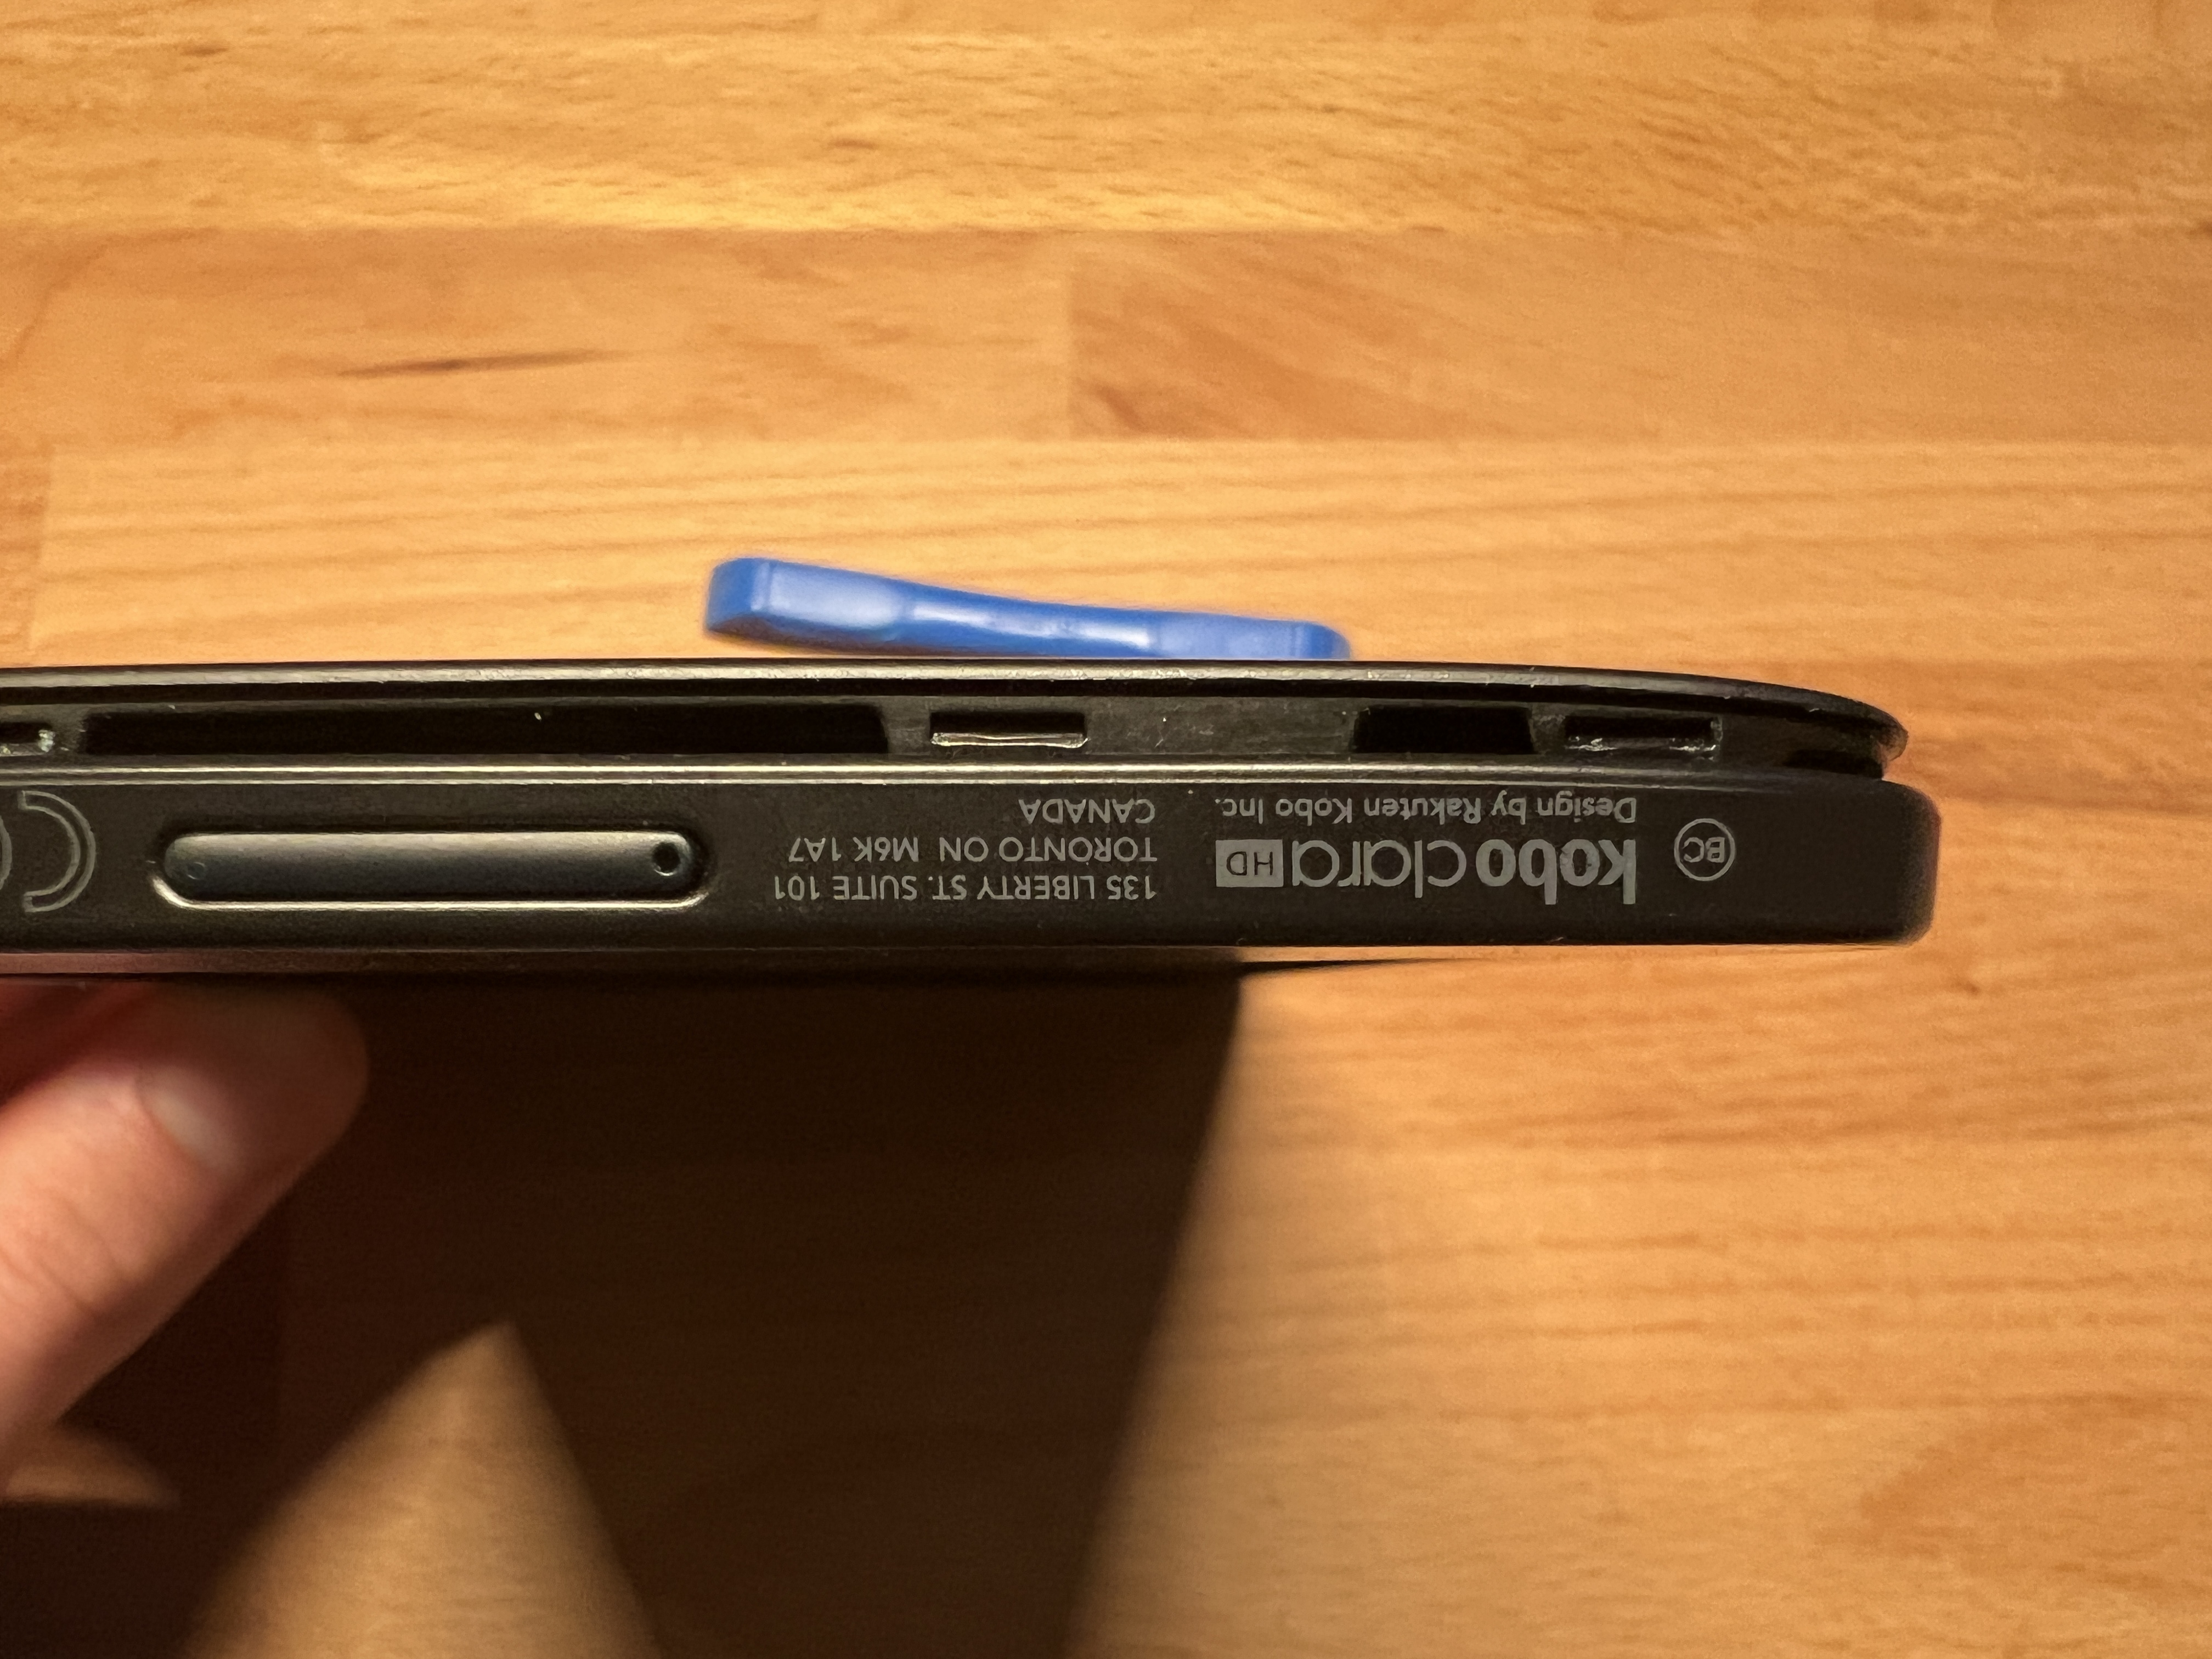
The bottom will pop out
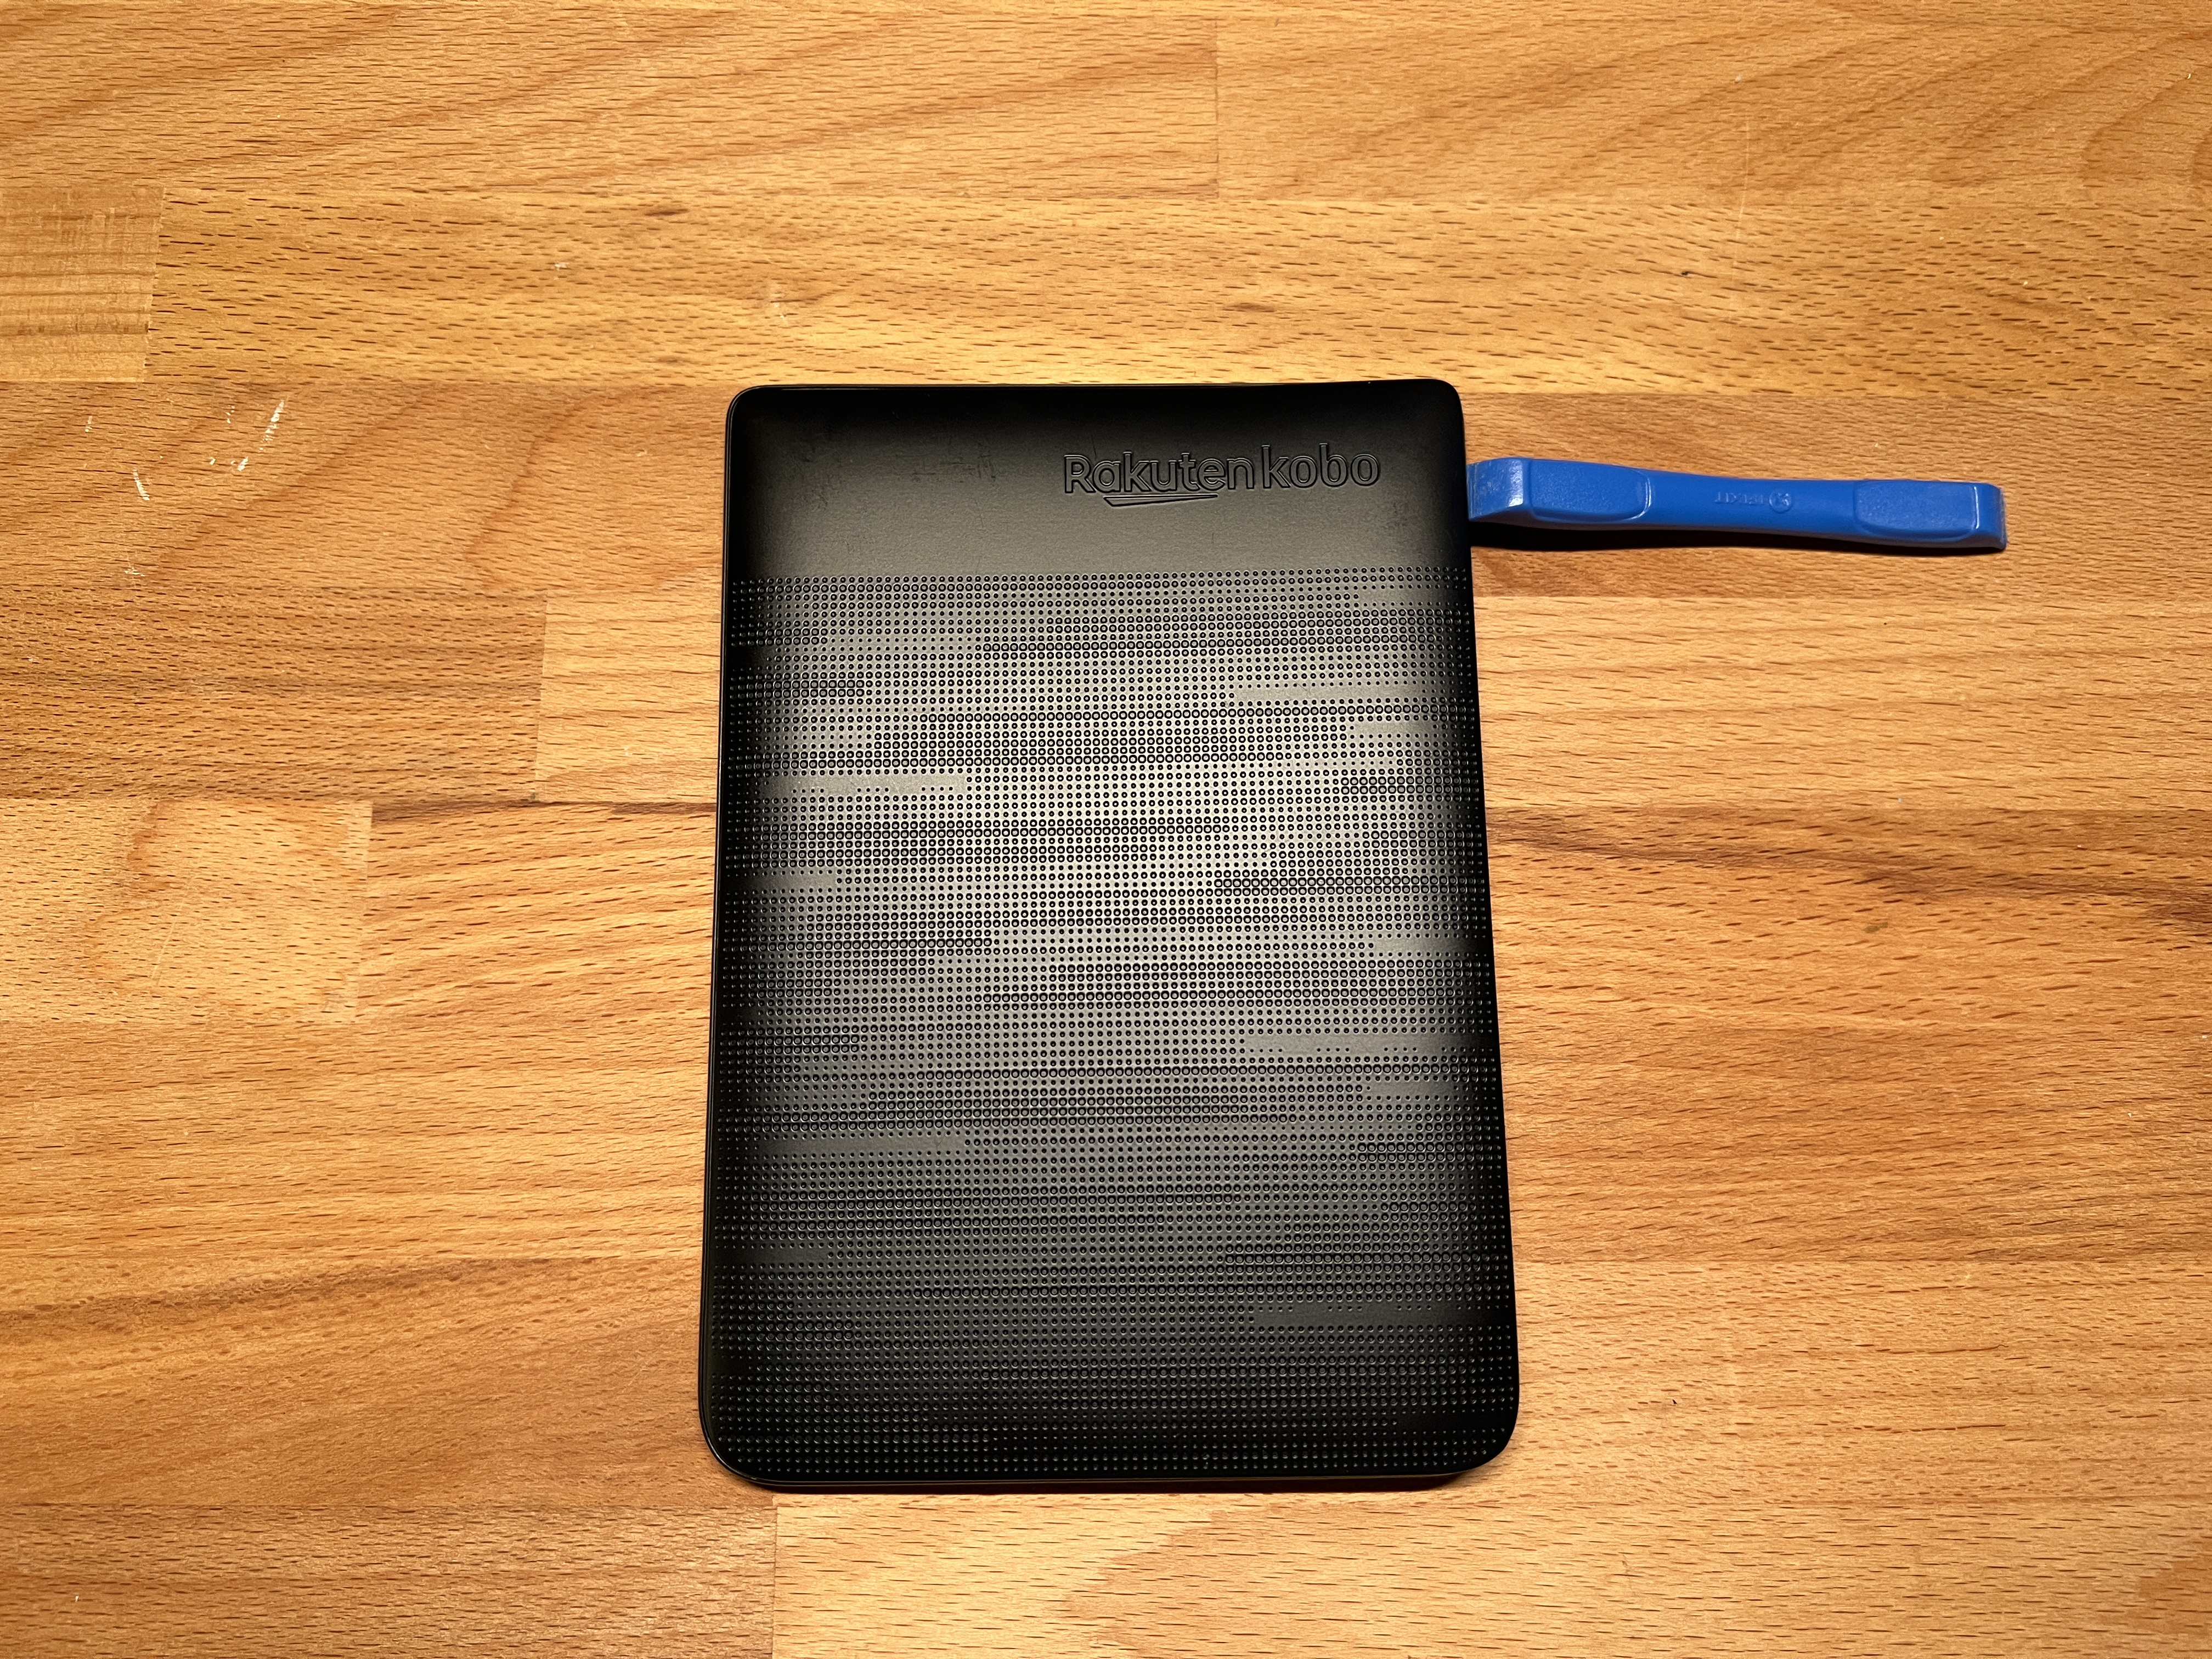
Continue prying along the sides
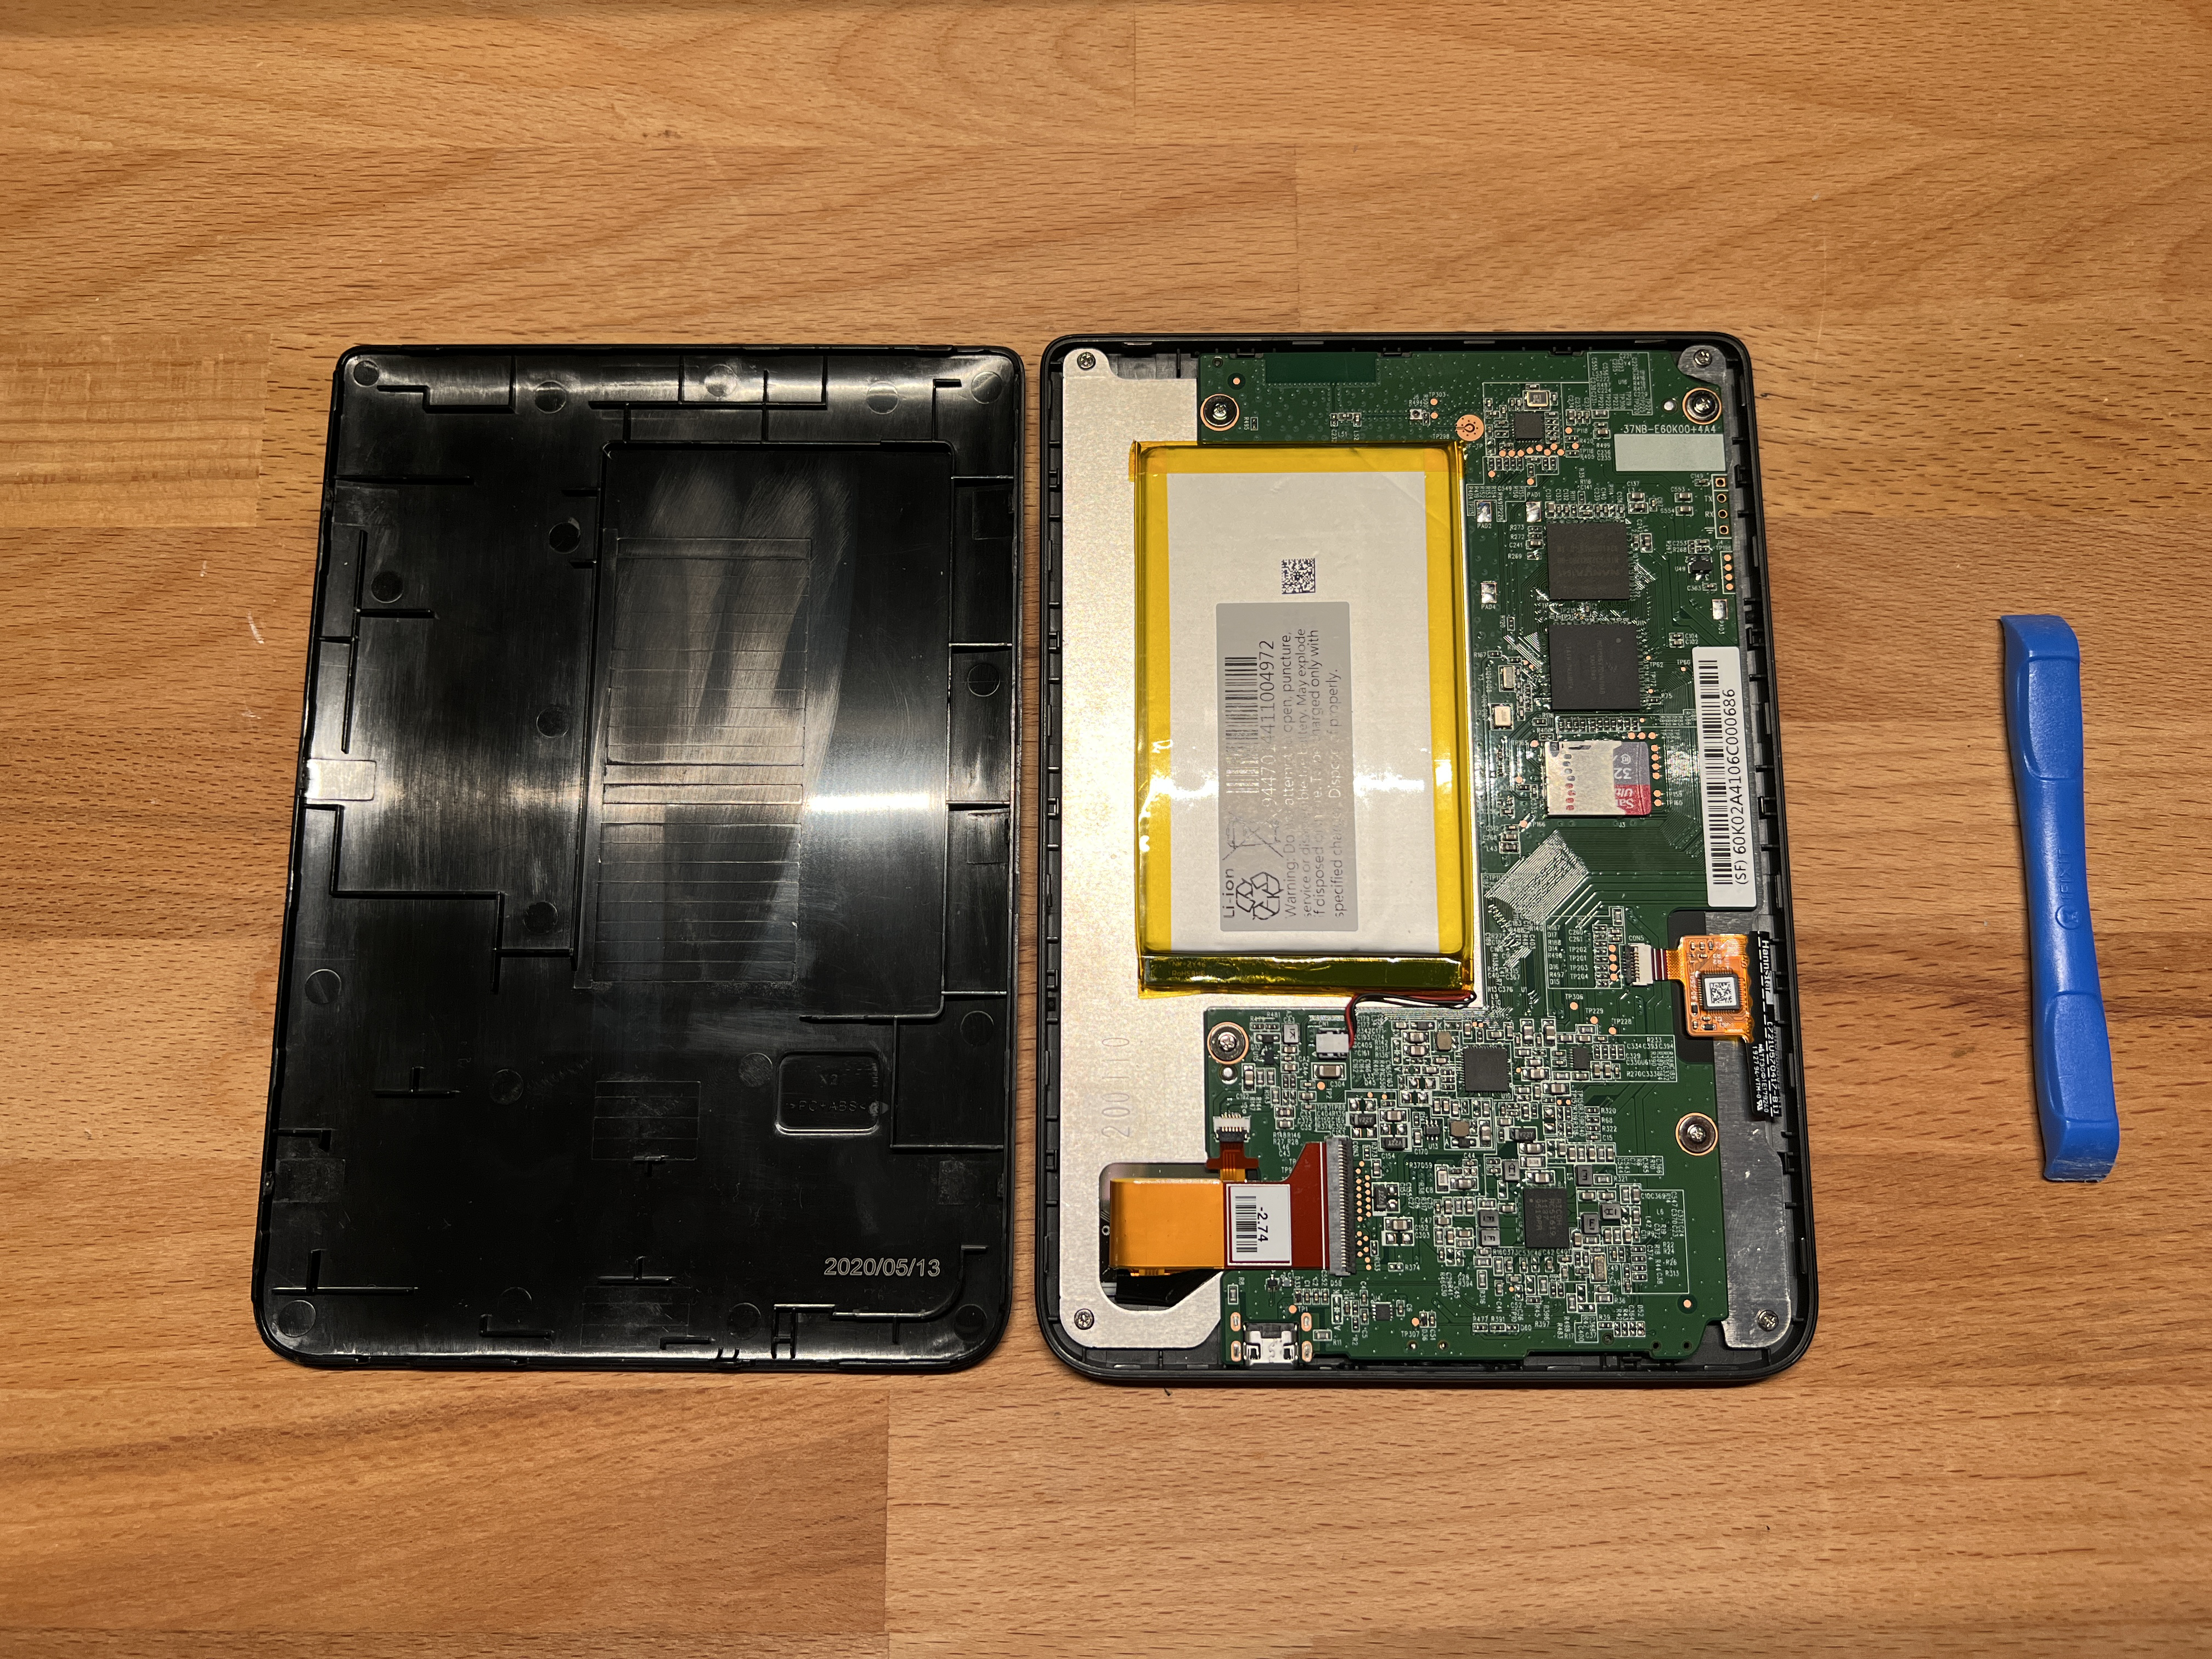
Remove the back cover
Remove the SD card from the device and connect it to a computer. Copy the SD card’s image with dd:
sudo dd if="/dev/<sd card>" of="kobo_sdcard.img" bs=4m
macOS users: Ensure the ’m’ is lowercase.
Reformat kobo_sdcard.img to new SD card by reversing dd command’s input/output path:
sudo dd if="kobo_sdcard.img" of="/dev/<sd card>" bs=4m
The third partiton (~8GB) must be resized in order for the device to hold the new SD card’s extra capacity.
Registration
The Kobo Clara HD requires an account to active the device and purchase books from the Kobo store, however this registration can be bypassed if you do not have or plan on using an account.
When the device is initially powered on, it will prompt for a user account. Select “Don’t have a Wifi network?” and connect the device to the computer. Navigate to the hidden .kobo directory modify the database:
cd /Volumes/<kobo>/.kobo/
sqlite3 KoboReader.sqlite
INSERT INTO user(UserID,UserKey) VALUES('1','');
When the device is ejected, the prompt will no longer appear and the device will be registered.
Developer mode
Developer mode can be enabled to activate beta features (and games!).
In the book search bar, type “devmodeon” and press enter. The “More” tab will now display a “Beta Features” tab.
More
To enable Telnet, SSH and more, continue following Lee Yington Li’s guide. My guide was partially assisted by his.
Tagged: Ereader Configuration