Prototype 56-key split
Aggressively-staggered 56-key split keyboard
06-01-22
Interested? Purchase it from my Etsy store
Before I created the Con Corne I wanted to design my own keyboard with an aggressive stagger and a healthy amount of thumb keys. I almost built a Dactyl High Profile, but after a lengthy 3D-print I was disappointed to find a splay between the outer two and third colunms.
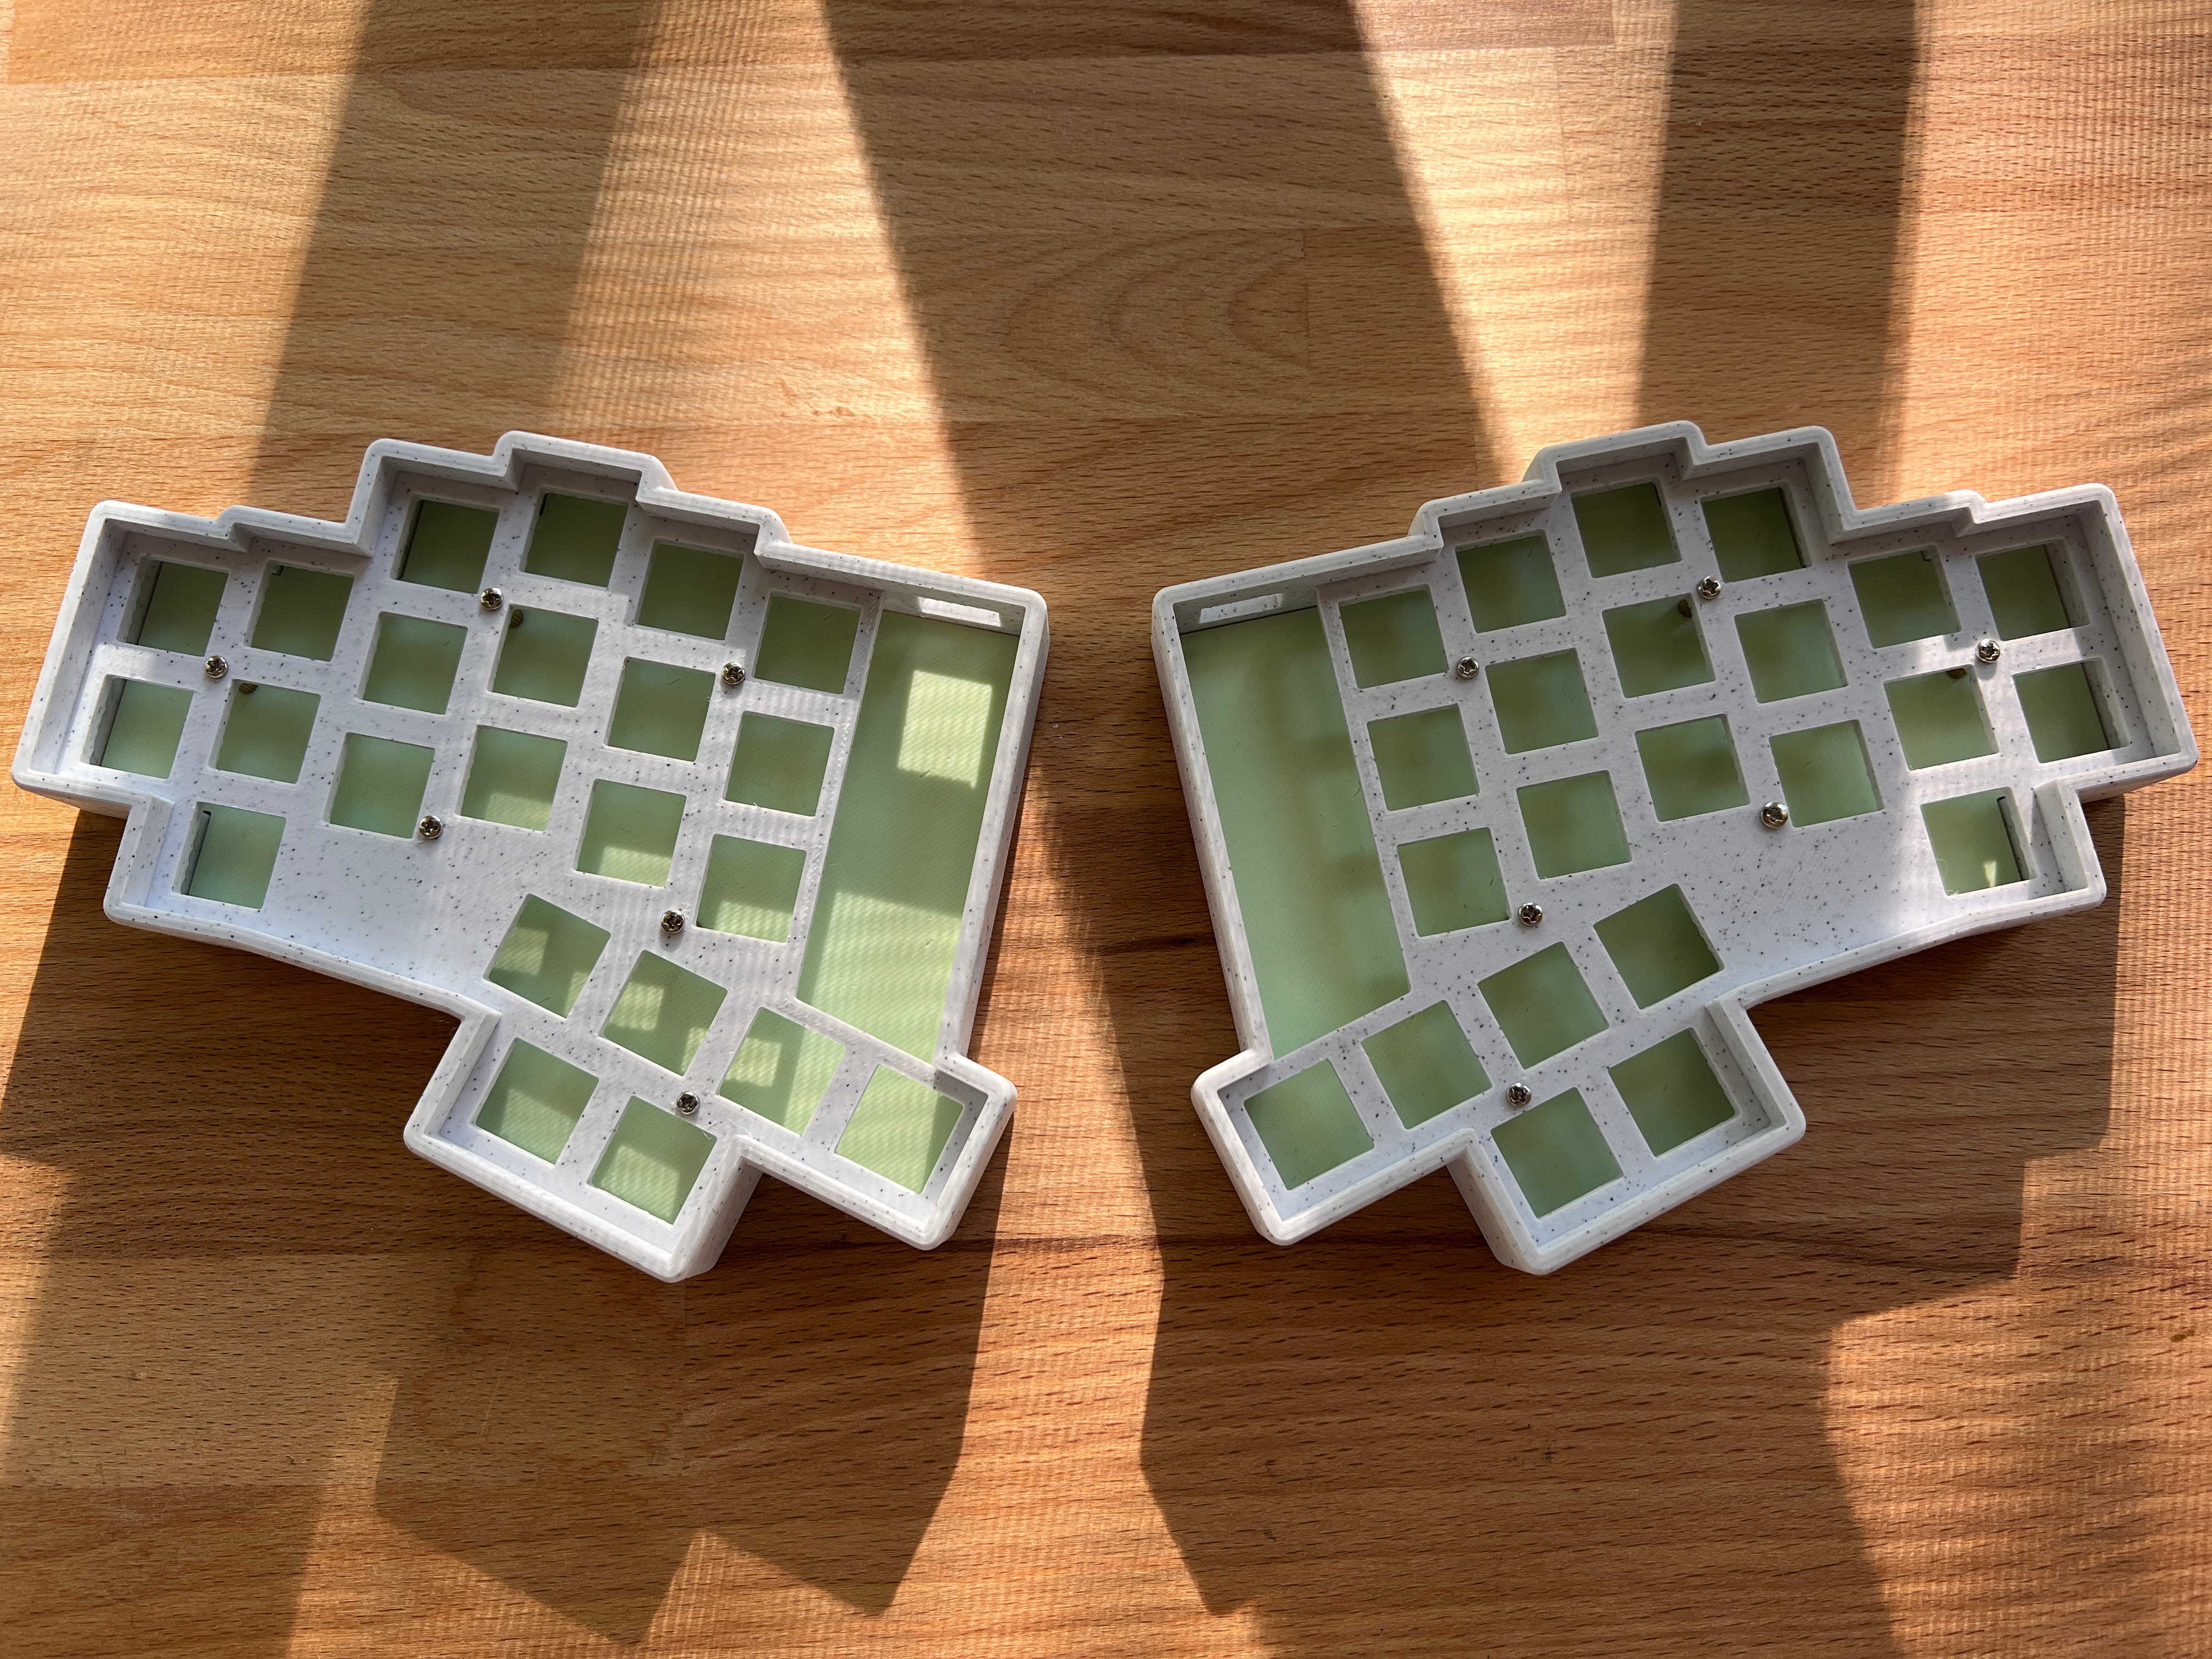
My layout went through eight revisions before I settled on the final one. I had a few core design criteria in mind:
- Aggressive stagger
- Minimal sixth column
- Extra thumb keys
At the time I was satisfied with the design; the thumb keys were easy to reach and I managed to move the incredibly uncomfortable lower pinky key on the sixth column to the thumb cluster. However, I never got around to soldering much of the board and shifted my focus instead to my Corne monoblock project. After using the latter for over a month now I don’t think I would find this design as comfortable and have abandoned the project.
My efforts were not fruitless though as I was able to implement a couple of new design concepts I had not yet tried.
Concepts
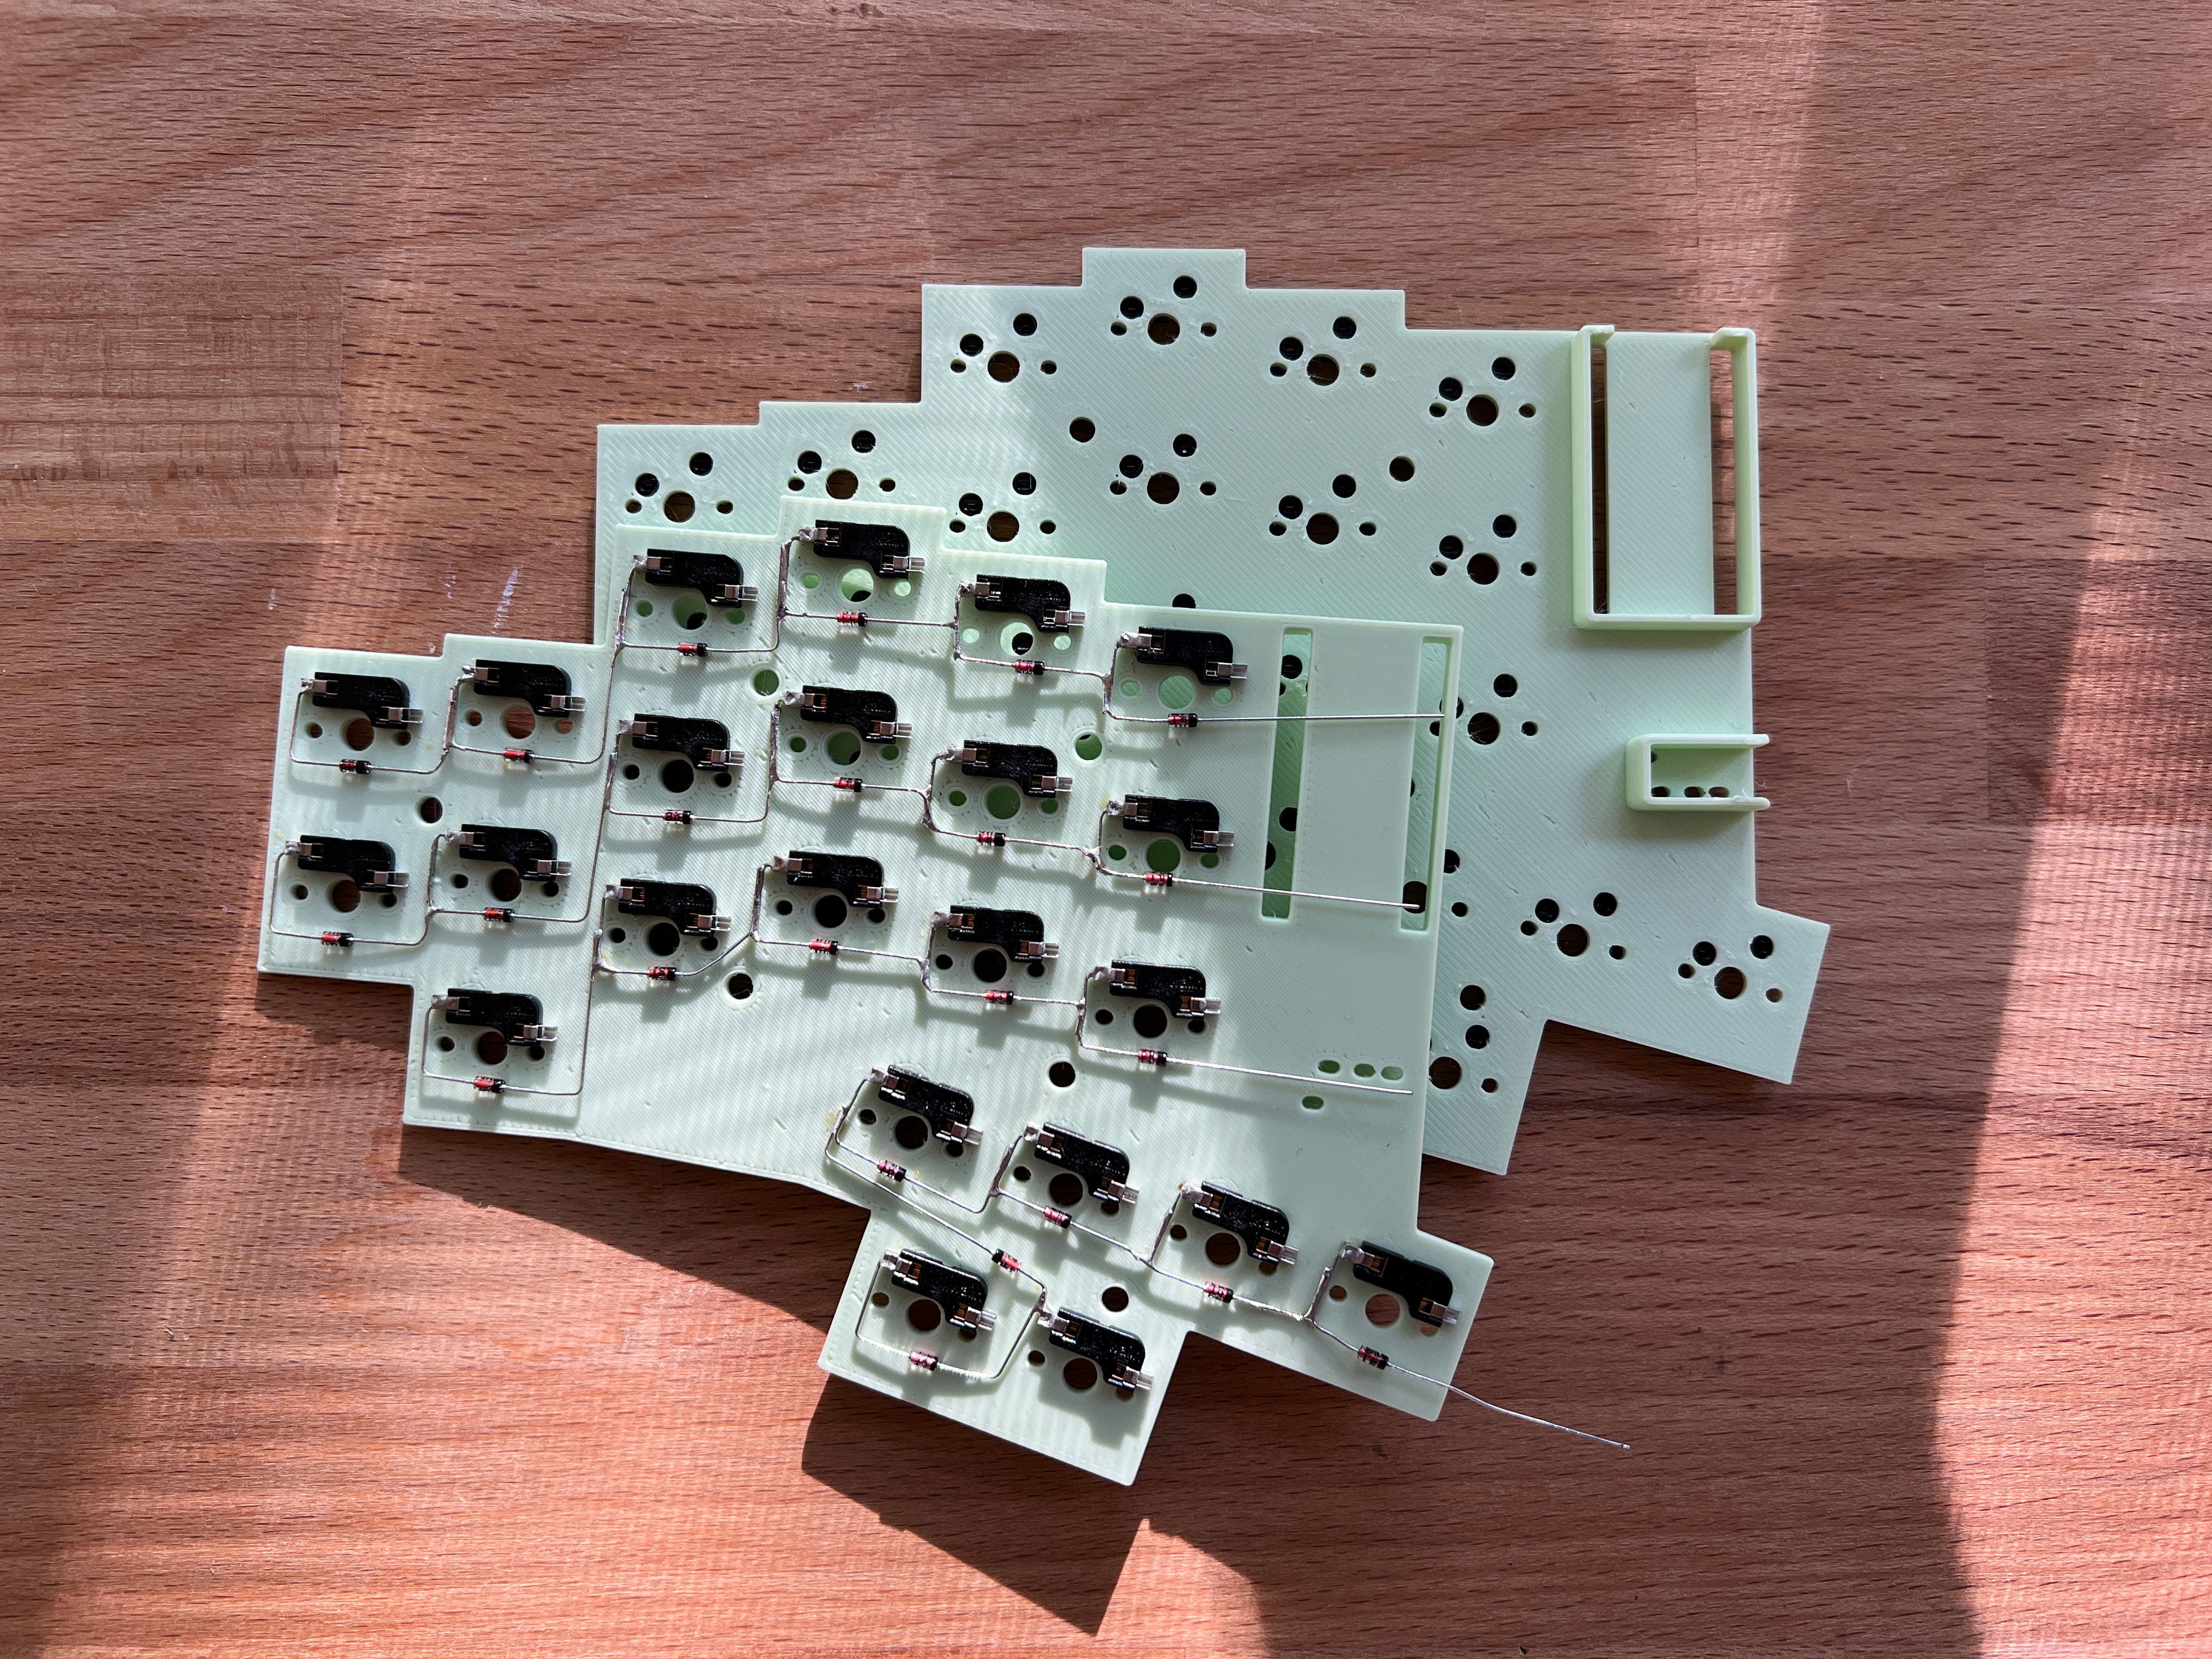
“3D-printed PCB”
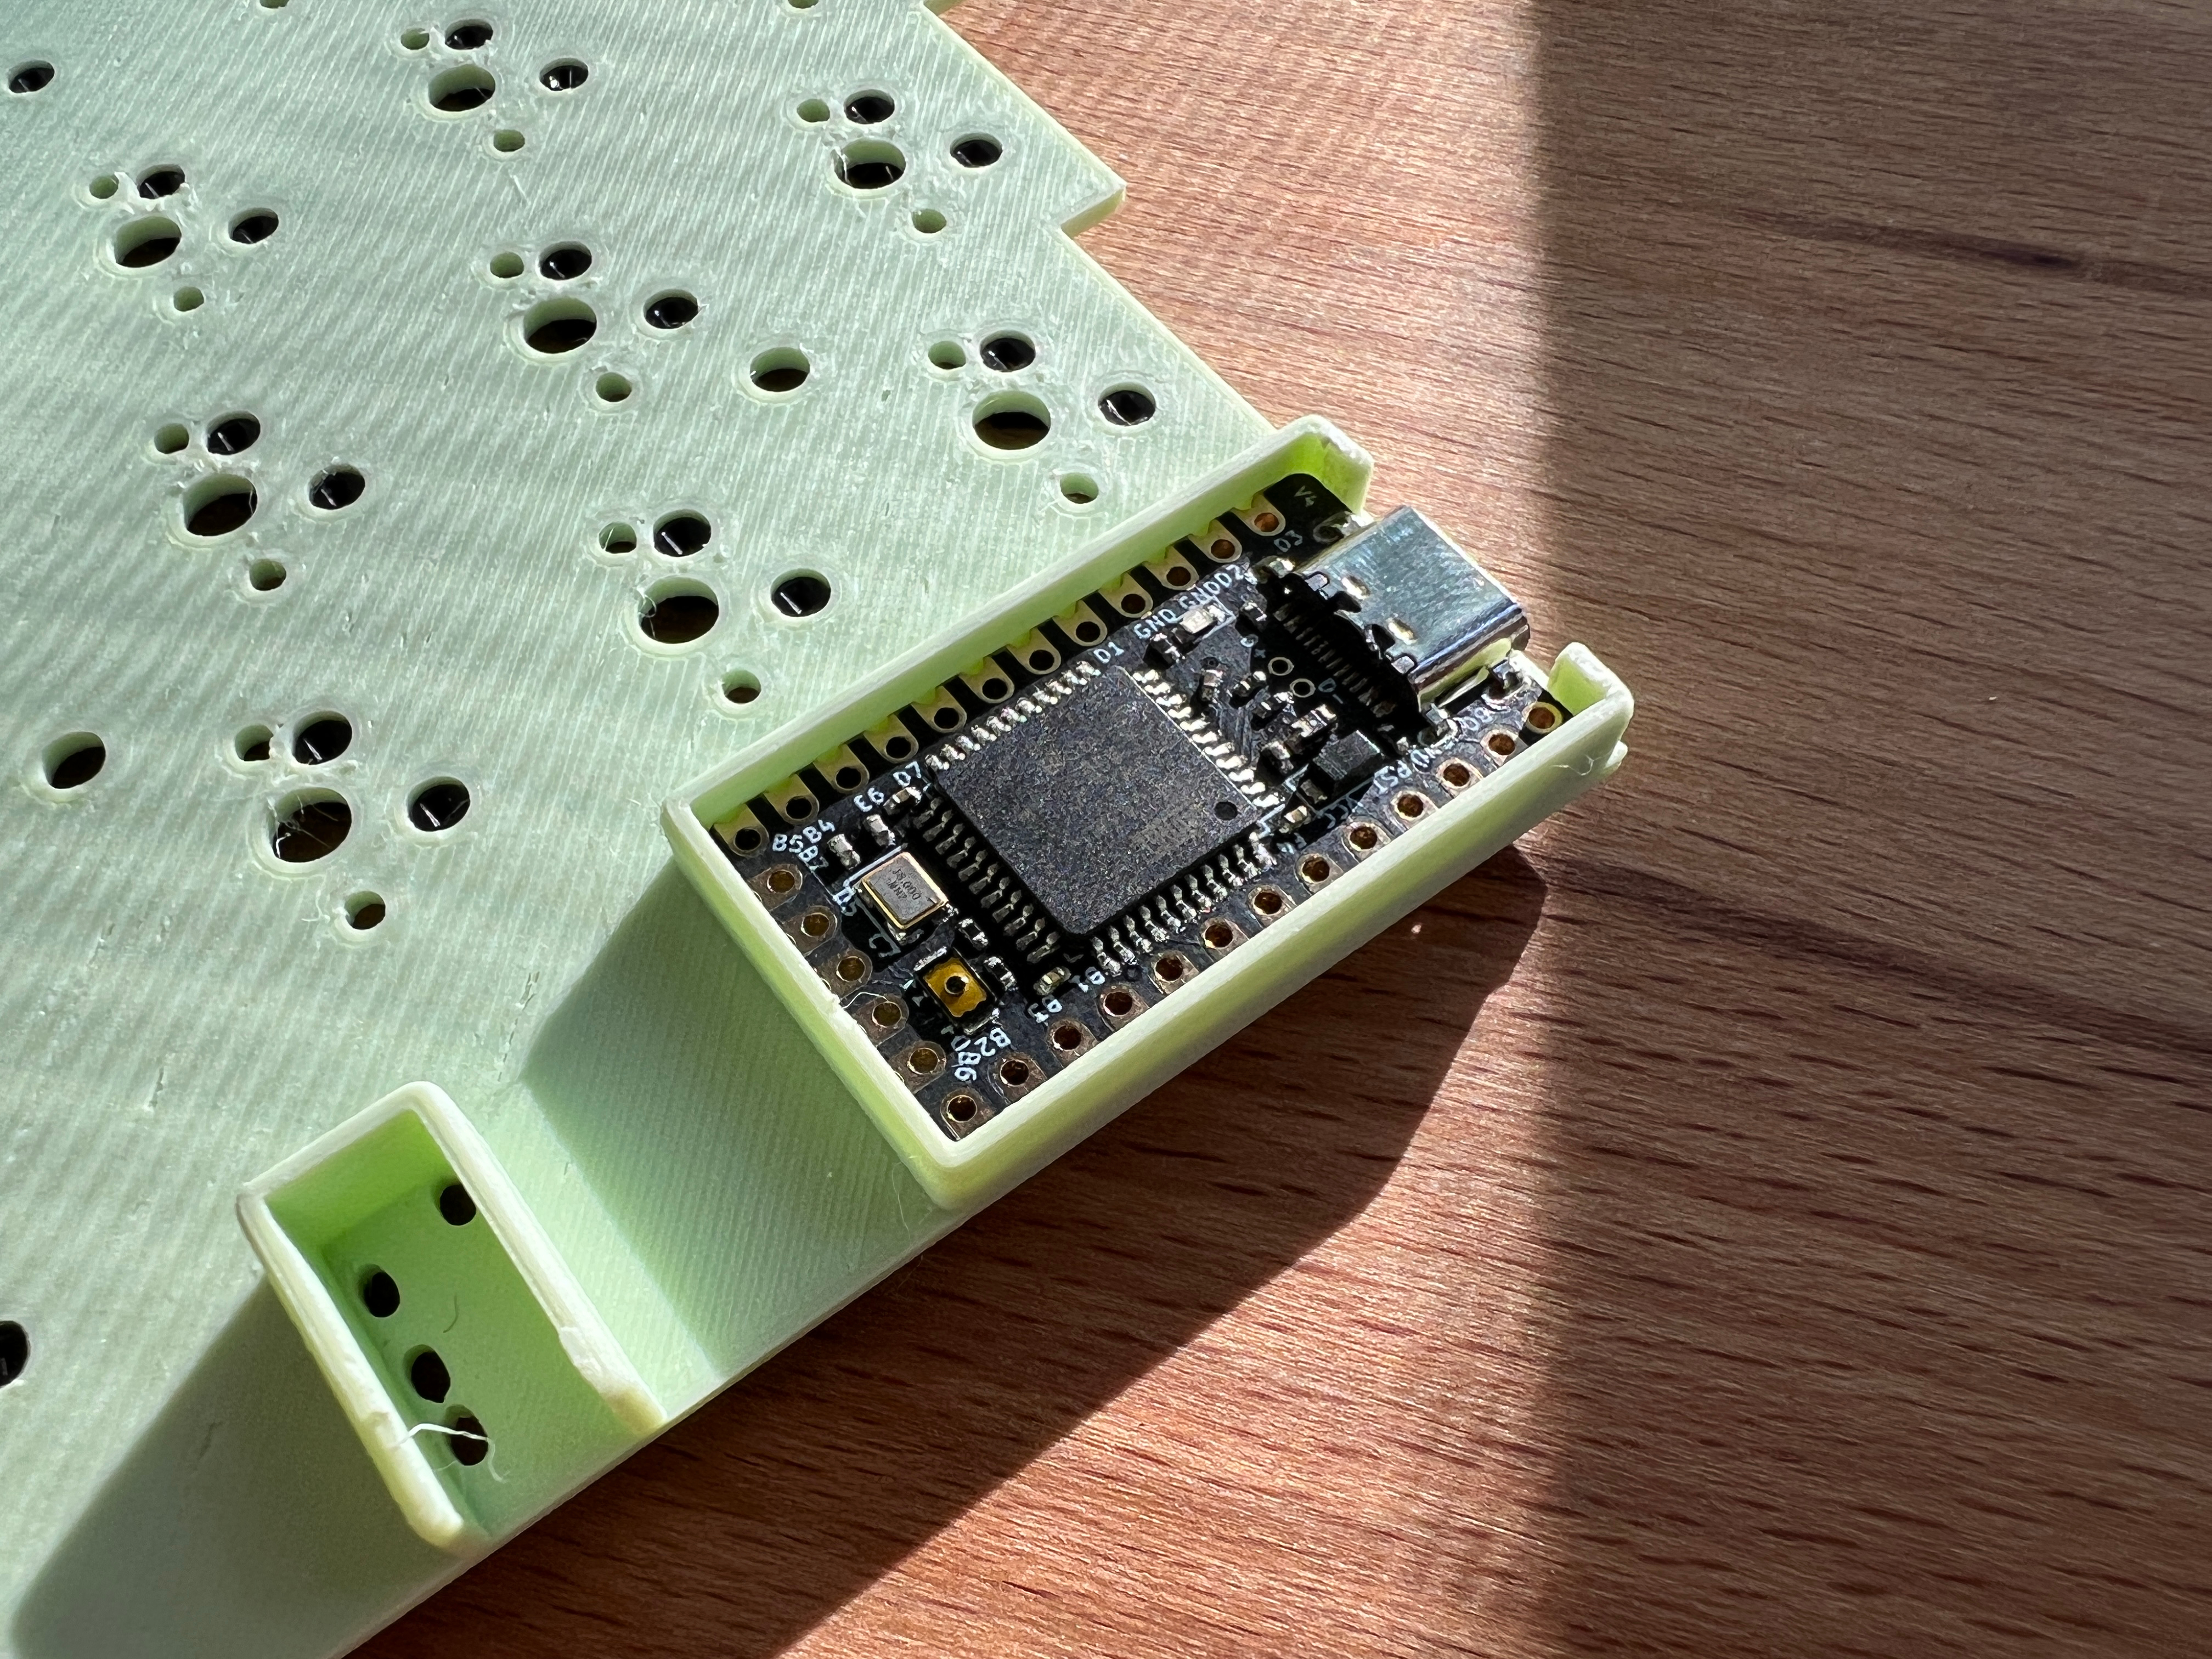
Handwiring a split keyboard is more challenging than a traditional board given the inclusion of the TRRS jacks and two microcontrollers. My best solution to securing the microcontroller and TRRS jack (these will be frequently plugged/unplugged) was to 3D-print a PCB-like plate. This plate also assists in securing the switch hotswap sockets, but switches should still not be installed without holding the socket from the bottom to prevent it from falling out.
Friction-fit microcontroller
I didn’t want to rely soley on hot glue to secure the microcontroller and TRRS jacks. The Elite-C microcontroller fits snug in a 18.7mm x 33.2mm border and does not require any hot glue. The TRRS jack rests against a 13.99mm x 6.24mm border, but hot glue is recommended given the force required to insert and remove a TRRS cable.